Pi-hole is an excellent tool for blocking advertisements and trackers in your local network. The typical setup is to install it on a separate Raspberry Pi and proxy your network traffic through it.
If you don’t have a Raspberry Pi or don’t want to do a more involving setup, you can run Pi-hole on your local computer in a Docker container. Let me explain how to do it in this quick tutorial.
Running Pi-hole in a docker container
First, you need to install Docker to continue. You also need to install the docker-compose. Once it’s up and running, you can clone this repository:
git clone [email protected]:pawurb/pi-hole-docker-compose.gitNow in the same folder, you have to create a file with your Pi-hole admin password:
cd pi-hole-docker-compose
echo "WEBPASSWORD=secret" > .envNow you can run your docker container by typing:
docker-compose up -dGo to localhost/admin, and you should see the Pi-hole graphical interface:

To verify that the Pi-hole DNS server is working, you can run this command:
dig @127.0.0.1 -p 53 google.com

//...
//;; ANSWER SECTION:
//google.com.   254 IN  A 142.250.74.206
//...
you should get a similar output with IP address in an ANSWER SECTION.
If it does not work, you should double-check that ports 80 and 53 are free. You can use this command to do it:
lsof -i:80
lsof -i:53
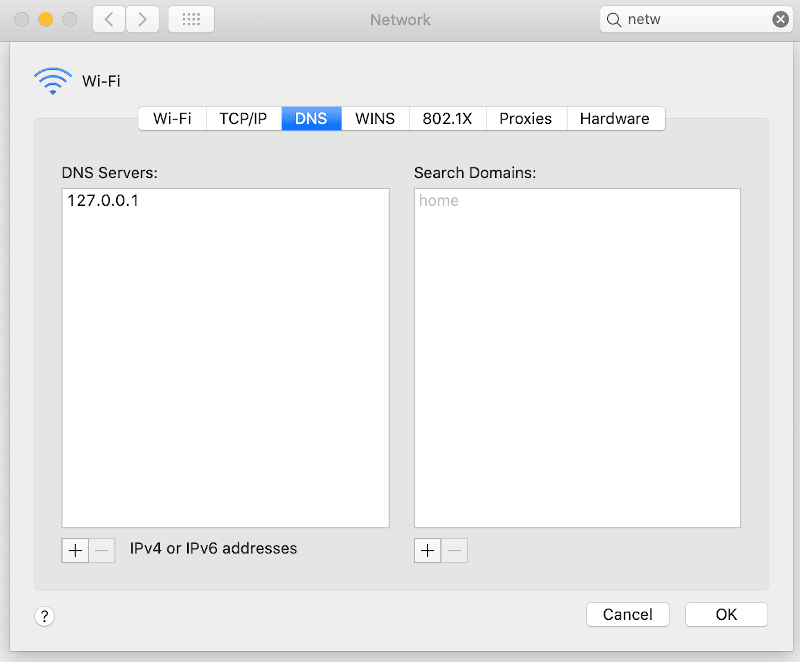
One last thing you need to do is to set your local computer as a primary DNS server for your network. Contrary to browser ad blockers, Pi-hole works on the DNS level. It can block all the tracking requests, not only browser ones.
The configuration will be different depending on your operating system. Remember that you need to set 127.0.0.1 as your DNS entry point. On macOS, you can do it by going to System Preferences > Network > Advanced > DNS.

The details of configuring Pi-hole itself is beyond the scope of this tutorial. Please refer to the official documentation for more details.
Summary
Pi-hole is one of my favorite open-source projects that I regularly donate to. It’s also my main weapon for fighting mobile and internet addiction. Running it locally allows you to use it even when you’re on the go without carrying the cumbersome Raspberry Pi around. The setup described takes only a couple of minutes. I highly encourage you to experience the internet without trackers and distractions.

