Working with Ethereum blockchain is vastly different from any tech stack that I’ve encountered before. In this blog post, I’ll describe a set of tools and techniques that I wish I knew when I started building my first Solidity project. We’ll discuss how to use the Mainnet without paying gas fees, apply advanced debugging to local transactions and steal all the Vitalik’s Ether.
1. Don’t use testnets for testing
Developing for Ethereum is an expensive hobby. With the current gas fees deploying a simple smart contract costs over $100.
A common practice is to deploy contracts to one of the testnets before the final release is ready. This approach works good-enough for simpler contracts that are self-contained. If your project relies on external dependencies, e.g., Uniswap protocol, or price oracles, you have to replicate the same environment on the testnet. For some protocols, testnet forks are available. Otherwise, you have to deploy the fork yourself. And that’s a lot of work. Even if you succeed, then you still have to maintain separate environments configuration, thus complicating your setup.
Local mainnet fork FTW
Mainnet forking is an alternative solution to this problem. Hardhat enables you to spin up your local mainnet with a simple command. By default, it forks off the latest block, but you can configure it to any block in the past. Remember to use an archive node (e.g., by Alchemy) to avoid issues with traveling too far back.
Locally forked mainnet means that you have all the original protocols, accounts, ERC20 tokens, etc., ready to play with. No need for the tedious manual setup. You can simulate transactions before running them on the mainnet and deploy the test contract to see how it interacts with the production environment. Only the necessary data is transferred to your local machine, so the setup is almost instantaneous. It means that you can run a test suite against the local forked mainnet. And that’s all without paying a cent for the gas fees! :exploding_head_emoji:
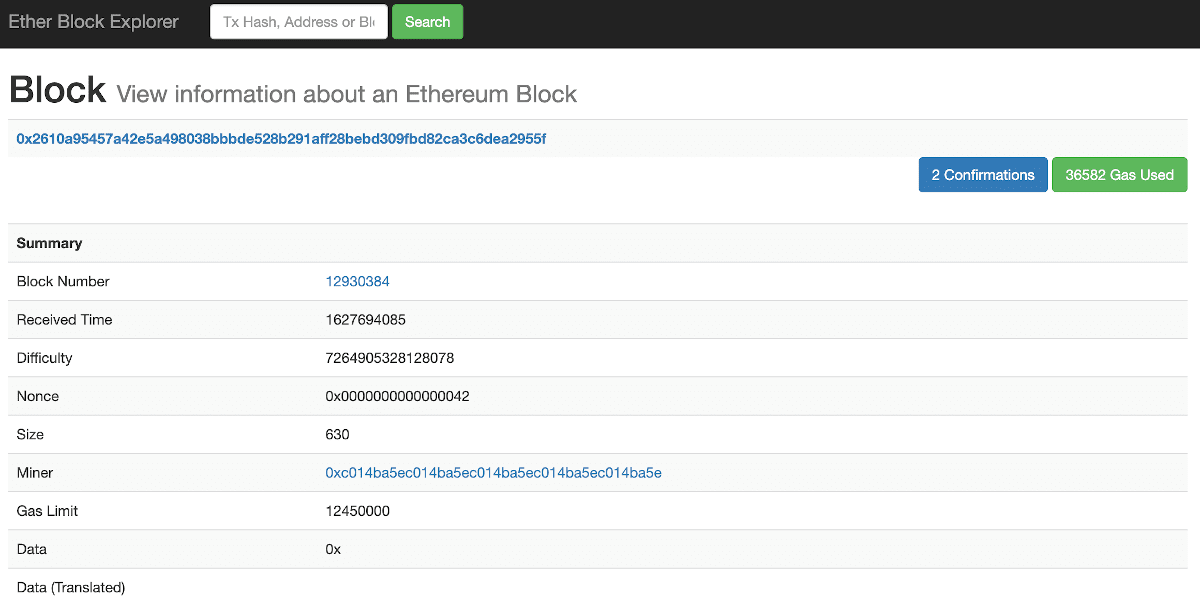
One thing I’m missing when working with a locally forked network is an Etherscan UI. Explorer by Etherparty is a limited alternative. But, I still find it useful for quick visual feedback.

Borrowing test funds
A bonus trick is that forking allows you to easily imporsonate any EOA account. Check out the following Hardhat script which transfers all the Vitalik’s Ether to your account:
import { run, ethers } from "hardhat";
import hre from "hardhat";
const VITALIK = "0xd8da6bf26964af9d7eed9e03e53415d37aa96045" // vitalik.eth
const TARGET = "YOUR_WALLET_ADDRESS"

async function main() {
  await hre.network.provider.request({
    method: "hardhat_impersonateAccount",
    params: [VITALIK],
  });

  const signer = await ethers.getSigner(VITALIK)
  const ethBalance = await ethers.provider.getBalance(VITALIK)

  await signer.sendTransaction({
    to: TARGET,
    value: ethBalance.sub(ethers.utils.parseEther("1"))
  });
}

main()
  .then(() => process.exit(0))
  .catch((error) => {
    console.error(error);
    process.exit(1);
  });
At the time of writing, that’s over 22 million USD to play with. This technique is super useful if you want to test out transactions that would normally require you to take a flashloan. The following trick works also for borrowing ERC20 tokens, NFTs, gaining admin access to protocols’ smart contracts, etc.
I’ve picked up the above technique from a video tutorial by Austin Griffith. BTW many of his tutorials are hidden gems that get like 1k total views. I highly recommend you to check them out if you want to boost your blockchain stats.
Please be aware that some edge case scenarios might not work on a forked mainnet. In case you encounter weird local bugs you’re stuck with testnets or paying real gas fees.
2. Debug local transactions with tenderly.co
Now that we’ve enabled a local mainnet god mode, let’s run some transactions. tenderly.co offers powerful debugging and introspection tools.
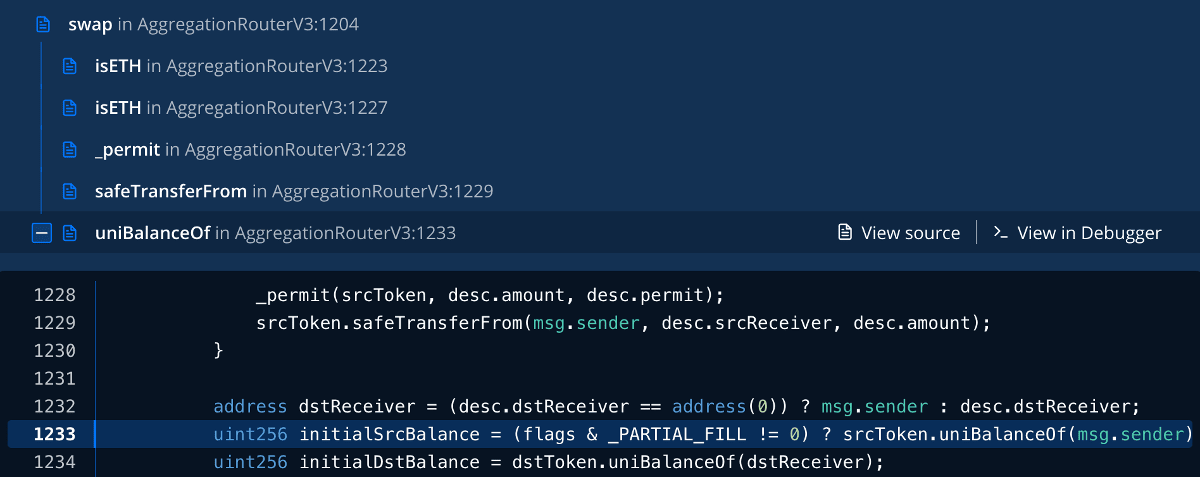
Even in the free plan, you can dissect any public transaction down to the single stack call with a built-in source code inspector and debugger:

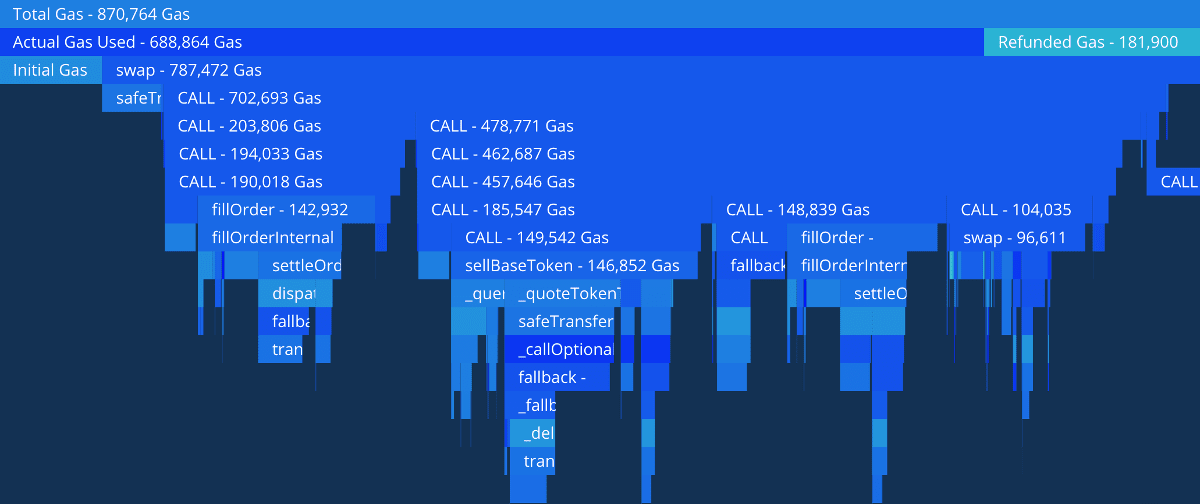
You can also see exactly why the costs of your transactions are sooo damn high…

A killer feature of tenderly is that it enables all those debugging tools also for your local transactions. It means that you can get the same powerful insights for transactions that you’re running against your local forked mainnet. Go to the Local transactions tab in tenderly UI to get detailed instructions on setting it up.
Same as before, this tip comes from Austin Griffith’s video tutorial.
An honorable mention here is EthTx Transaction Decoder. This open-source project offers similar debugging capabilities.
3. console.log
I’ve written my first Solidity project with Truffle and only later switched to Hardhat. I don’t want to start a flamewar, but from my beginner’s perspective, Hardhat seems to be superior in terms of features (Disclaimer: I only have hands-on experience with these two frameworks). For example, the test suit runs ~4x faster, and there’s also a console.log available in Solidity.
If you test against a locally running fork, you can see the log output in the node process. Compared to debugging contracts’ internal state from the outside when working with Truffle, console.log significantly improved my development process. Just remember to remove all the console.log entries before deploying to production because they consume additional gas.
4. TypeScript
I was surprised by how much static typing has improved my workflow. Before working with Ethereum, I’ve had only standard NodeJS experience but switching to TypeScript had a minimal learning curve. For me, the syntax overhead is negligible compared to the number of errors that the compilation process prevents.
Hardhat offers first-class support for TypeScript, so configuring it in a new project takes only a moment. TypeChain is also worth adding to your stack if you’re already using static typing.
A bonus tip is that you can use resolveJsonModule compiler option to import ABI JSON data directly from the file without embedding it in the codebase.
5. Test helpers
Before discovering OpenZeppelin test helpers I’ve used to write monstrosities like this one:
it("does not allow locking funds for too long", async () => {
  let notExpected = false;

  try {
    await SmartHoldETH.new(
      priceFeed.address,
      4050,
      0
    )
    notExpected = true;
  } catch (err) {
    assert.ok(err);
  }

  assert.ok(!notExpected)
});
and after:
it("does not allow locking funds for too long", async () => {
  await expectRevert(
    SmartHoldETH.new(
      priceFeed.address,
      4050,
      0
    )
  , "Too long")
});
Can you spot the difference?
This lib offers dozens of helpers that simplify writing and maintaining test suits. Notable highlights are simulating the passing of time and tracking account balance changes.
Test helpers library seamlessly integrates with Hardhat tests using Waffle, ethers.js, and chai.
Summary
I’ve described the techniques that so far had the highest impact on my daily workflow and productivity. I’m just starting my journey as a blockchain developer, so please don’t hesitate to share more tips in the comments.

